During the automated testing, you may face one challenge (I faced it myself, actually). For example, you have two Salesforce orgs, Dev and UAT. Your goal is to check developed functionality firstly on the Dev org and, when all QA processes pass successfully, deploy it to the UAT org. Then, you need to test all the functionality on the UAT org as well.
To accomplish this, you can use GitLab and run tests in pipelines. In contrast to the standard approach, when tests are performed on a local device, using pipelines in Gitlab helps speed up testing and ensures continuous integration and continuous delivery for your Salesforce project.
In one of the previous articles, I shared how to securely log in to Salesforce without the verification code or MFA. Now, we’ll use this logic to set up automated tests on GitLab.
Friendly reminder: you can do this on any other platform too, as the basic idea is the same.
Step-By-Step Guide on How to Launch Autotests on Multiple Salesforce Orgs
Once the new functionality is deployed into the Salesforce Dev org, we will follow this algorithm:
1. Develop autotests for new functionality (or use already created if you follow the BDD framework)
2. Get your sfdx Auth Url value
3. Set it into GitLab variables
4. Launch the jobs you interested in with this variable
Let’s go step by step.
Step 1. Suppose that after development, you need to execute some regression tests. In our case, it is a small test that the Lead object can be converted. You will find the code example for this test in the article about creating Salesforce objects during automation testing.
Step 2. Then, navigate to the previously mentioned article to get your sfdx Auth Url value.
Step 3. Now, let’s set up Gitlab jobs.
First of all, make sure that your server has already pre-installed Salesforce CLI and a browser for testing. To establish Jobs in Gitlab, you need to create a .gitlab-ci.yml file in the root directory of your repository.
The simplest Job in this file will look like this:
regression:
 when: manual
 script:
   - echo "start of autotests execution"
   - auth=${SFDX_AUTH_URL} npm run regressionSuite
where regressionSuite is our script with autotests
Step 4. Now, we let the test recognize the passed variable to log in to the Salesforce org. To do that, we will use this code:
import exec from 'executive'
import fs from 'fs'

let authFile = { sfdxAuthUrl: process.env.auth }
fs.writeFileSync(`./authFile.json`, JSON.stringify(authFile))
await exec.quiet(`sf org login sfdx-url --sfdx-url-file ./authFile.json --set-default`)
This code saves the provided SFDX_AUTH_URL value in the authFile.json file and then uses it to authorize with Salesforce CLI.
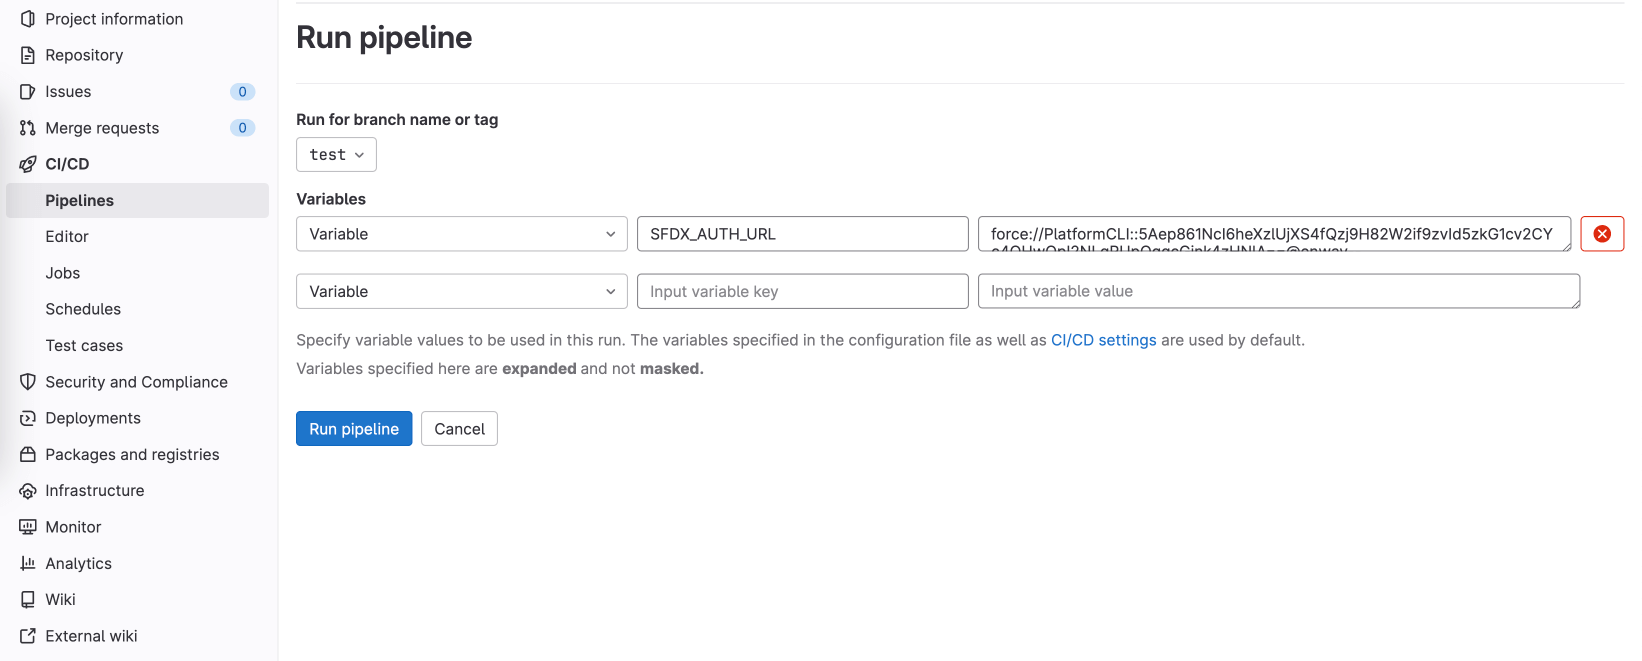
Now you need to navigate to your Gitlab repo => CI/CD => Pipelines and click the “Run pipeline” button:

Then select your branch or tag (if you have several ones) and provide a variable name SFDX_AUTH_URL and its value (from step 2).

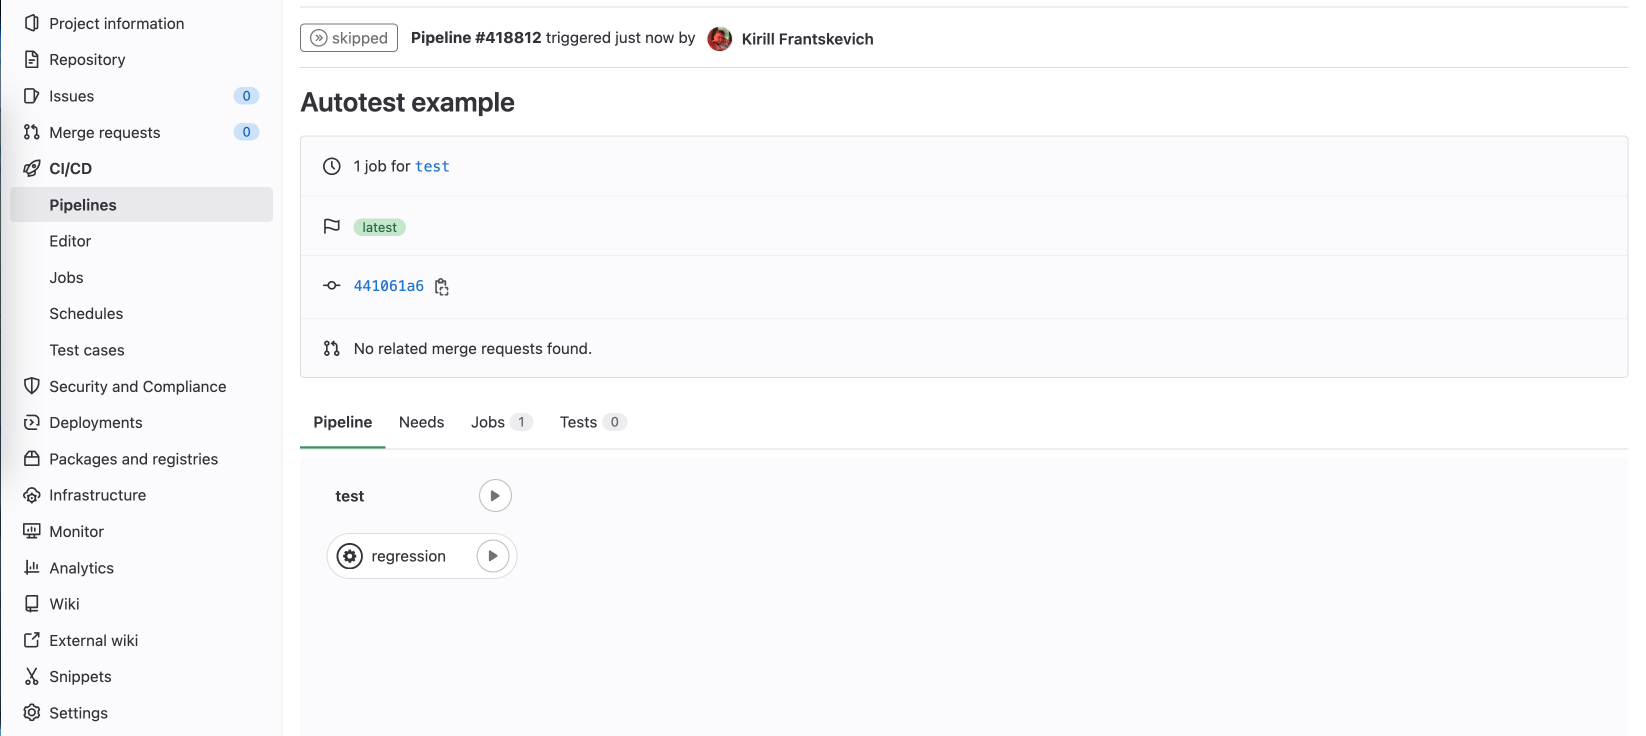
Then click the “Run pipeline” button, and the job is started.

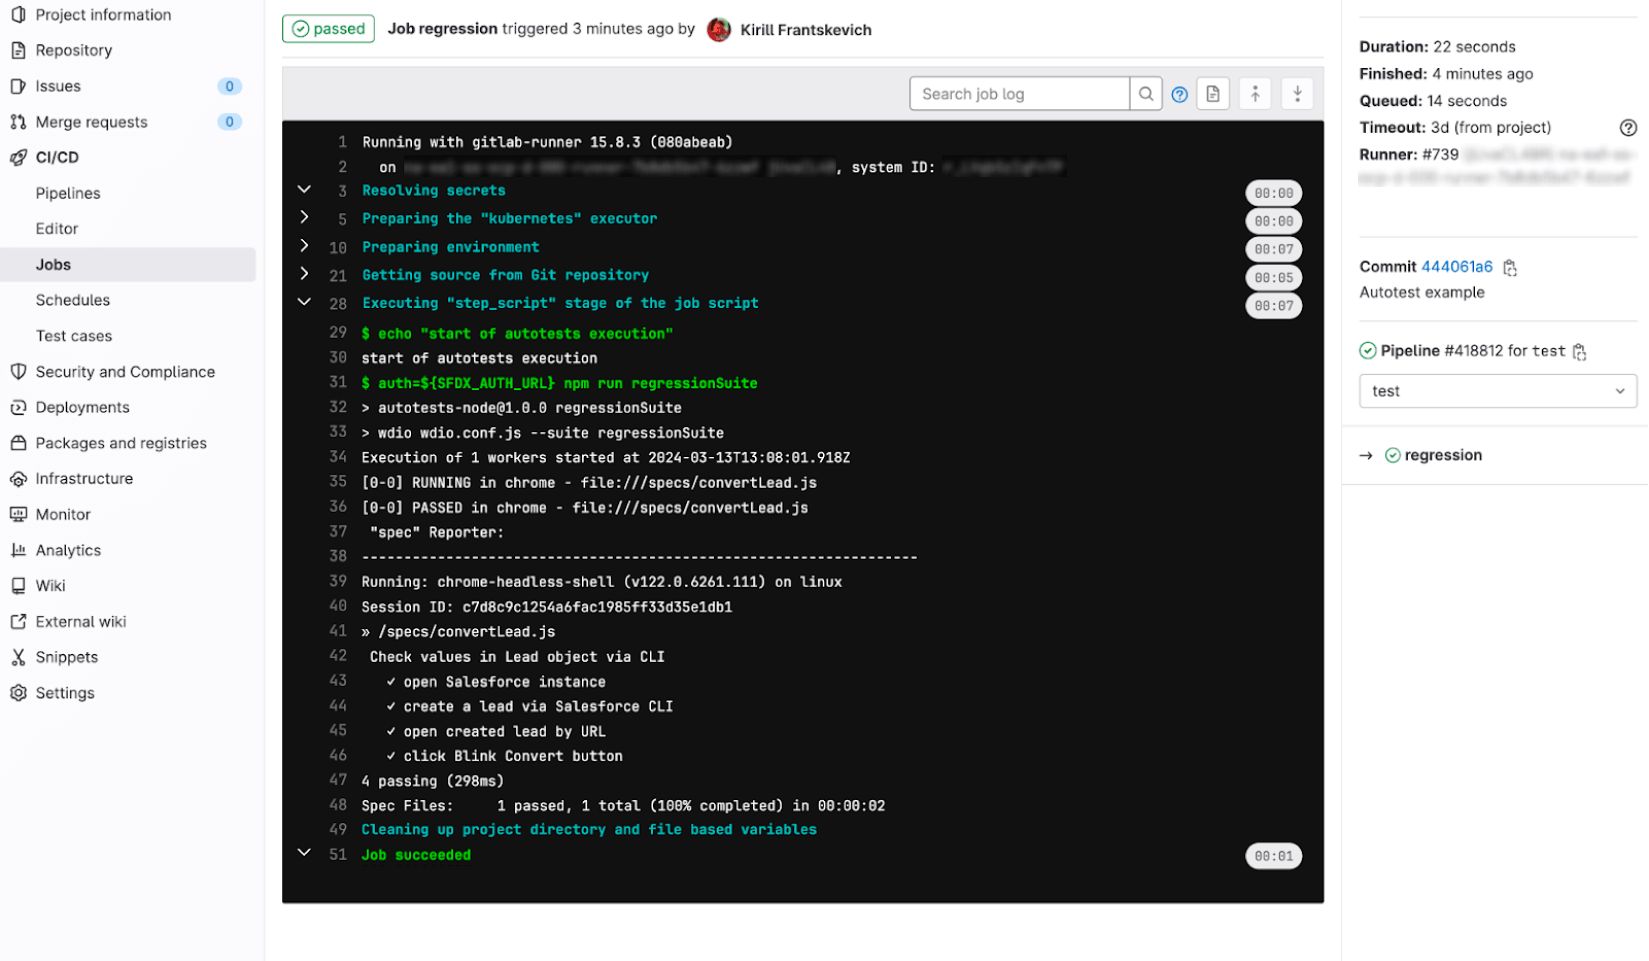
When it is finished, you’ll see a small execution report. Hooray, our test is passed successfully.
So, the test on the first org is passed. You can deploy the developed feature into the next environment (UAT, in our example). To check the new functionality here, you just need to repeat the steps with the new SFDX_AUTH_URL value.

Final Thoughts
So, unlike the usual way of testing on your own device, the use of pipelines helps you speed up the testing phase to deliver bug-proof and robust Salesforce solutions to your customers in shorter terms.


